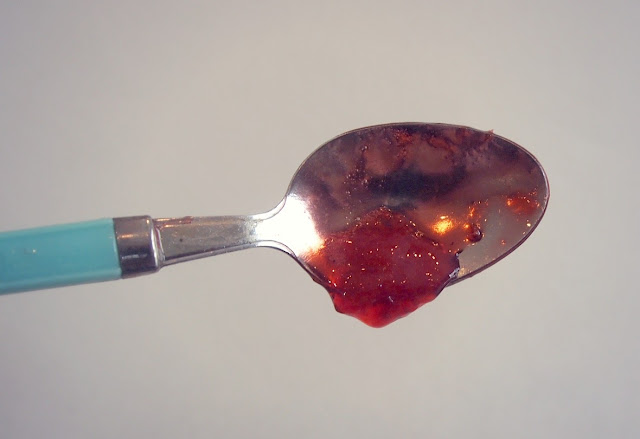
Do you have to test for gel?
Nope, you can absolutely skip that step but you may end up kicking yourself if you do. The process is simple and it gives you a chance to make sure all your hard work is producing the kind of product you like and it also gives you a chance to fix it if it is not quite right. Once you scoop that jam into jars and give them a bath - it's over & the jam is what it is. Taking a moment to test for gel will just give you confidence that you are making a great batch of jam.
Here's how you do it:
This is pretty ideal for me. The texture holds together like a solid, but still has movement.
Now on to the diagnostics that come up when testing. There are 3 common things that you may discover in your gel test:
Jam stays very liquid and runny even though it is completely cool. This is probably the most common problem and the good news is that it is an easy one to fix! It means you were short on pectin, sugar, or did not let it get to a hard boil. Just add another half packet of pectin to your jam and bring to a hard boil for one more minute. The hard boil is important. Don't get nervous or over excited and just simmer for a minute, that just won't activate the pectin in the way you need to with jam.
It's stiff and feels like hard jello. If you jam is stiffer than you'd like then this could be a result of several things: your pectin to fruit ratio is off (check the recipe just to be sure); it's been overcooked (letting the second hard boil happen for just one minute rather than 10 really is important after all). If this happens, there is not much you can do to repair the batch, but you should still save it - It will melt down nicely to make a lovely syrup topping for ice cream or a marinate for your chicken. All is not lost, you just need to get creative!
The jam is crunchy. The good news is that this is probably a really basic error, it's another overcooking issue, so next time you will keep a better eye on it, right? The bad news is, you can't really fix it. You took your sugar and brought it to the "hard ball stage" of sugar crystallization as most confectioners call it...it's trying to become a hard candy. I suppose the best you could do it go ahead and cook it fully to make some yummy crystal candy! I've never really had this happen to me after 100+ batches of jam, so don't worry much about this!
It takes time to figure this part out. If you've never made jam before, it may take a bit of time to get this gel test down perfectly, but give it a shot! You won't learn until you try. And if you have questions, get in touch, I would be happy to do my best to answer them!


I really enjoy this blog. I used to help my mother and grandmother can and I hated it! So hot, and messy! Now necessity has forced be to take advantage of big batches of fruit & veggies, and I actually kind of enjoy it! It helps to do it at night and with the air conditioner going full blast. I usually use a pressure canner and do small batches, cutting recipes into half or even fourths. I often use my own homemade grape-juice (white grapes) to can fruit with a touch of lemon juice or even a few drops of vinegar. Keep on posting! I love it!
ReplyDelete